Instructions:
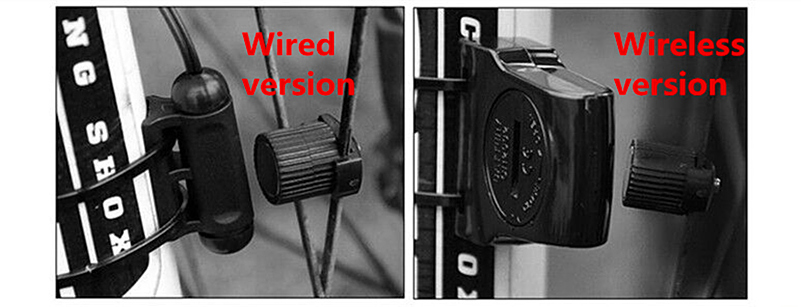
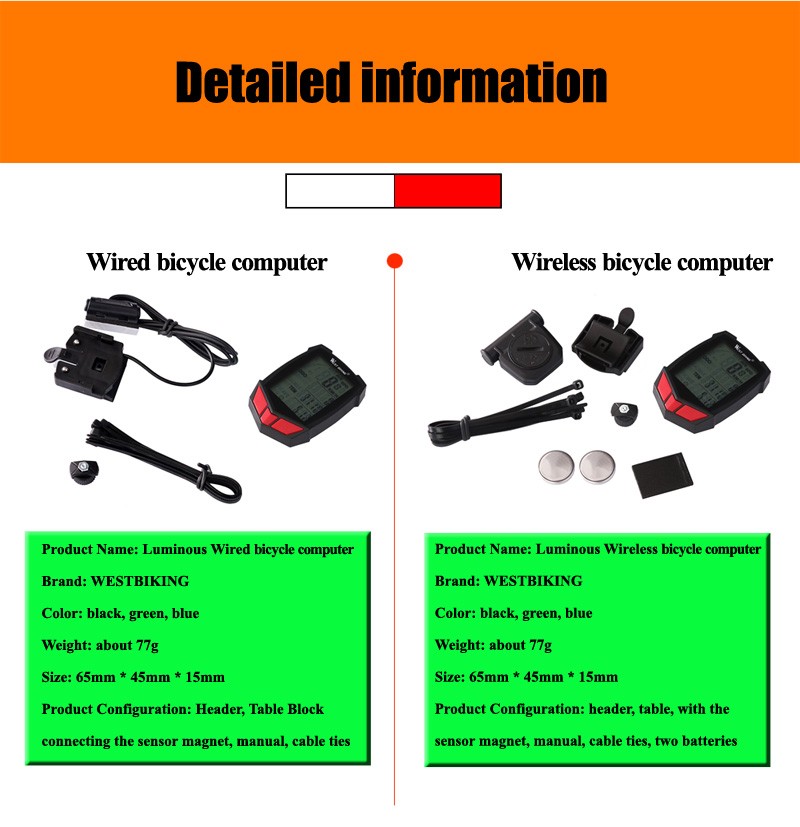
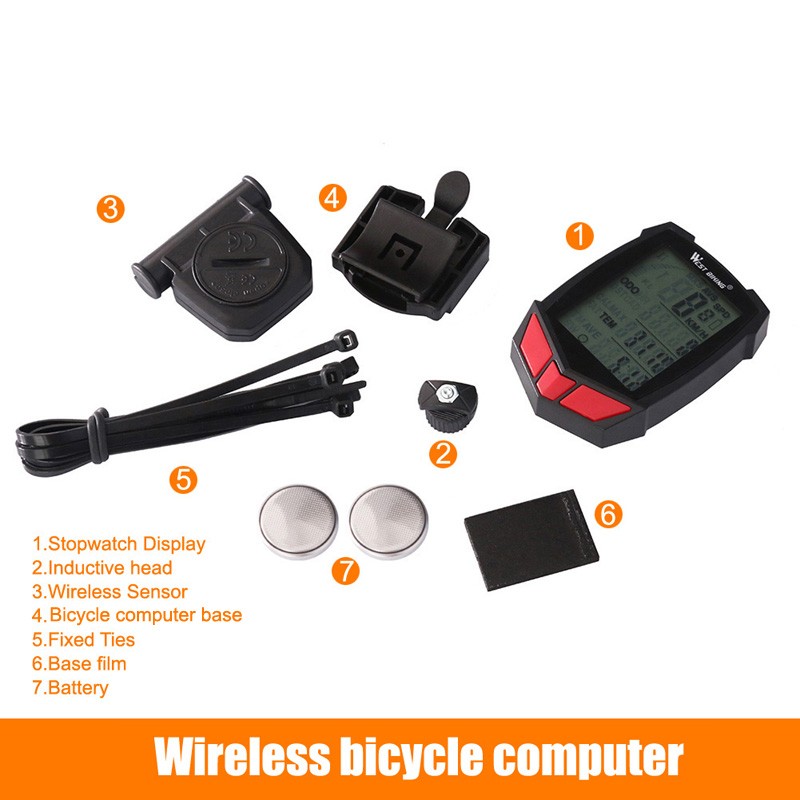
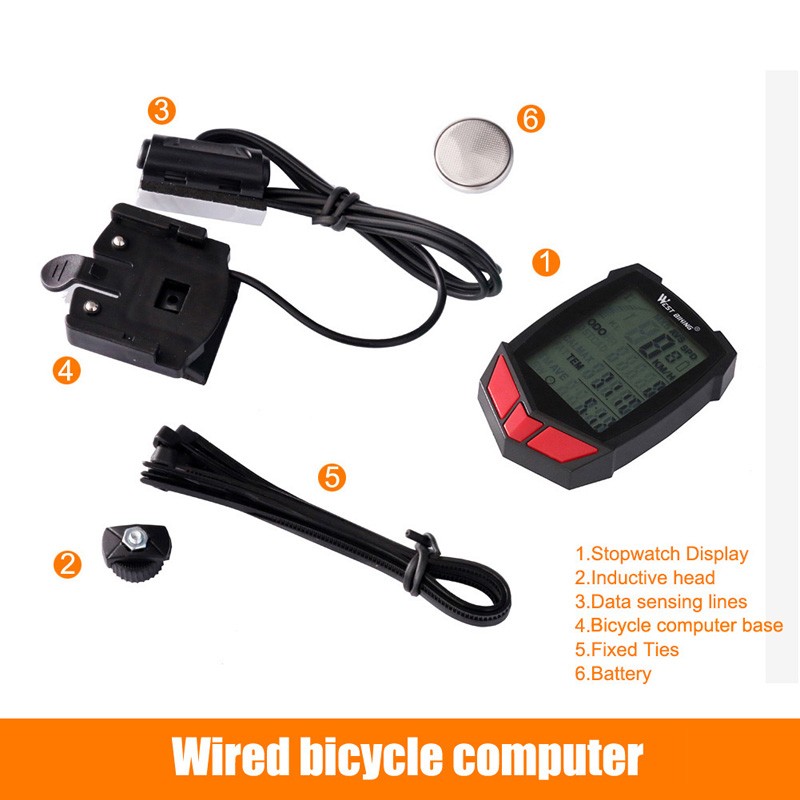
This bike computer has 2 types.wired and wireless.Please ensure the type you want and choose correctly before give an order.Thanks!
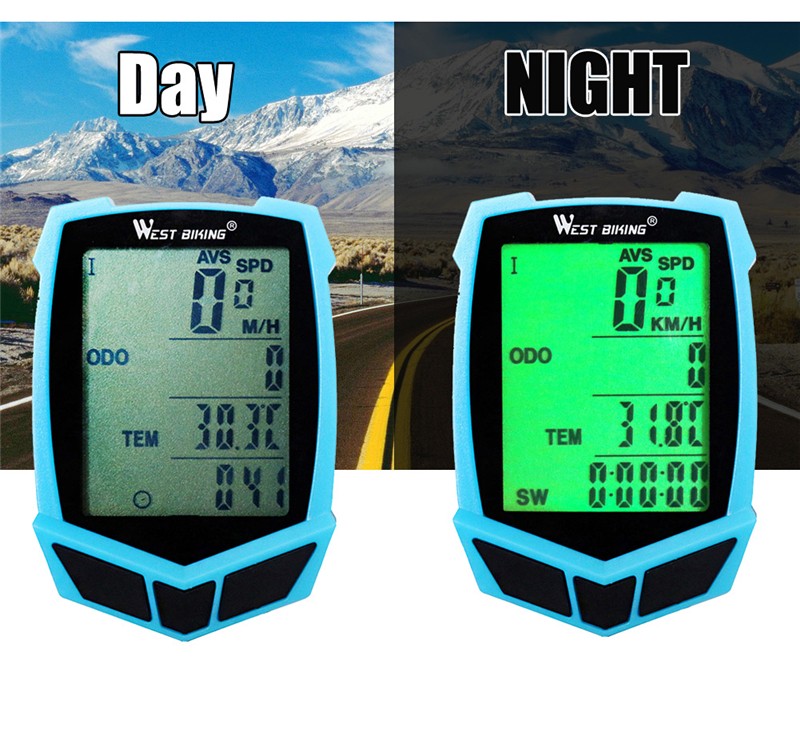
1,About backlight:During 17:00-7:00,screen will be lighted up for 4 seconds when you press any key , But if you want the screen always lighted , press both middle and right key for 1 seconds to keep the screen always lighted up.Press middle and right key for 1 seconds again to cancel it .
2
,
About clean the value:
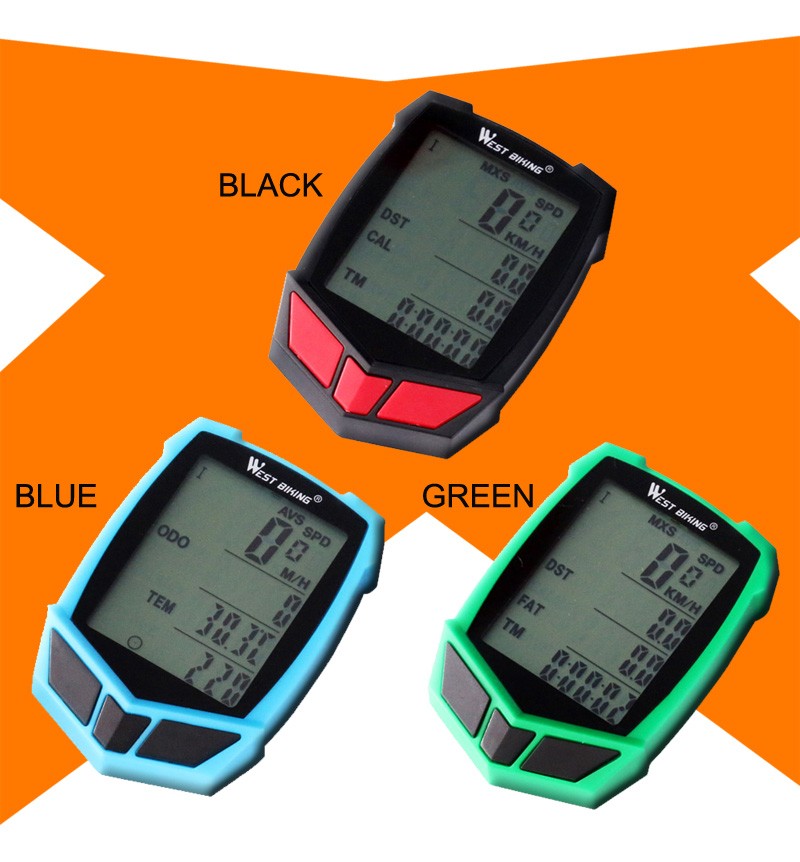
Press the right key to enter into the DST PAT TM mode.under this mode , press the middle key to check the fat and calories value.Press left key for 3 seconds,DST TM MXS AVS FAT and calories comes to '0'.
3
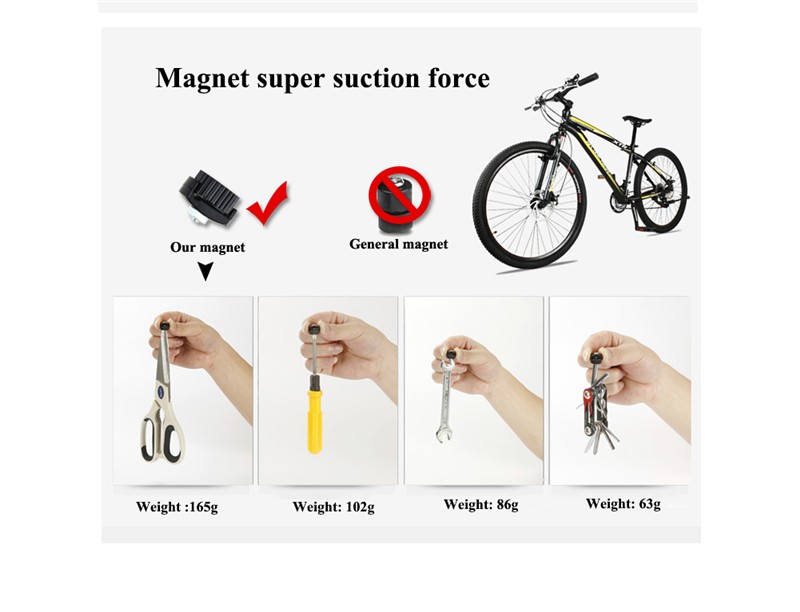
,The distance between the bicycle computer and the magnetic head should be within 60cm.The distance between the wireless launcher and themagnetic head is around 1.5mm(The more closer the more sensitive)
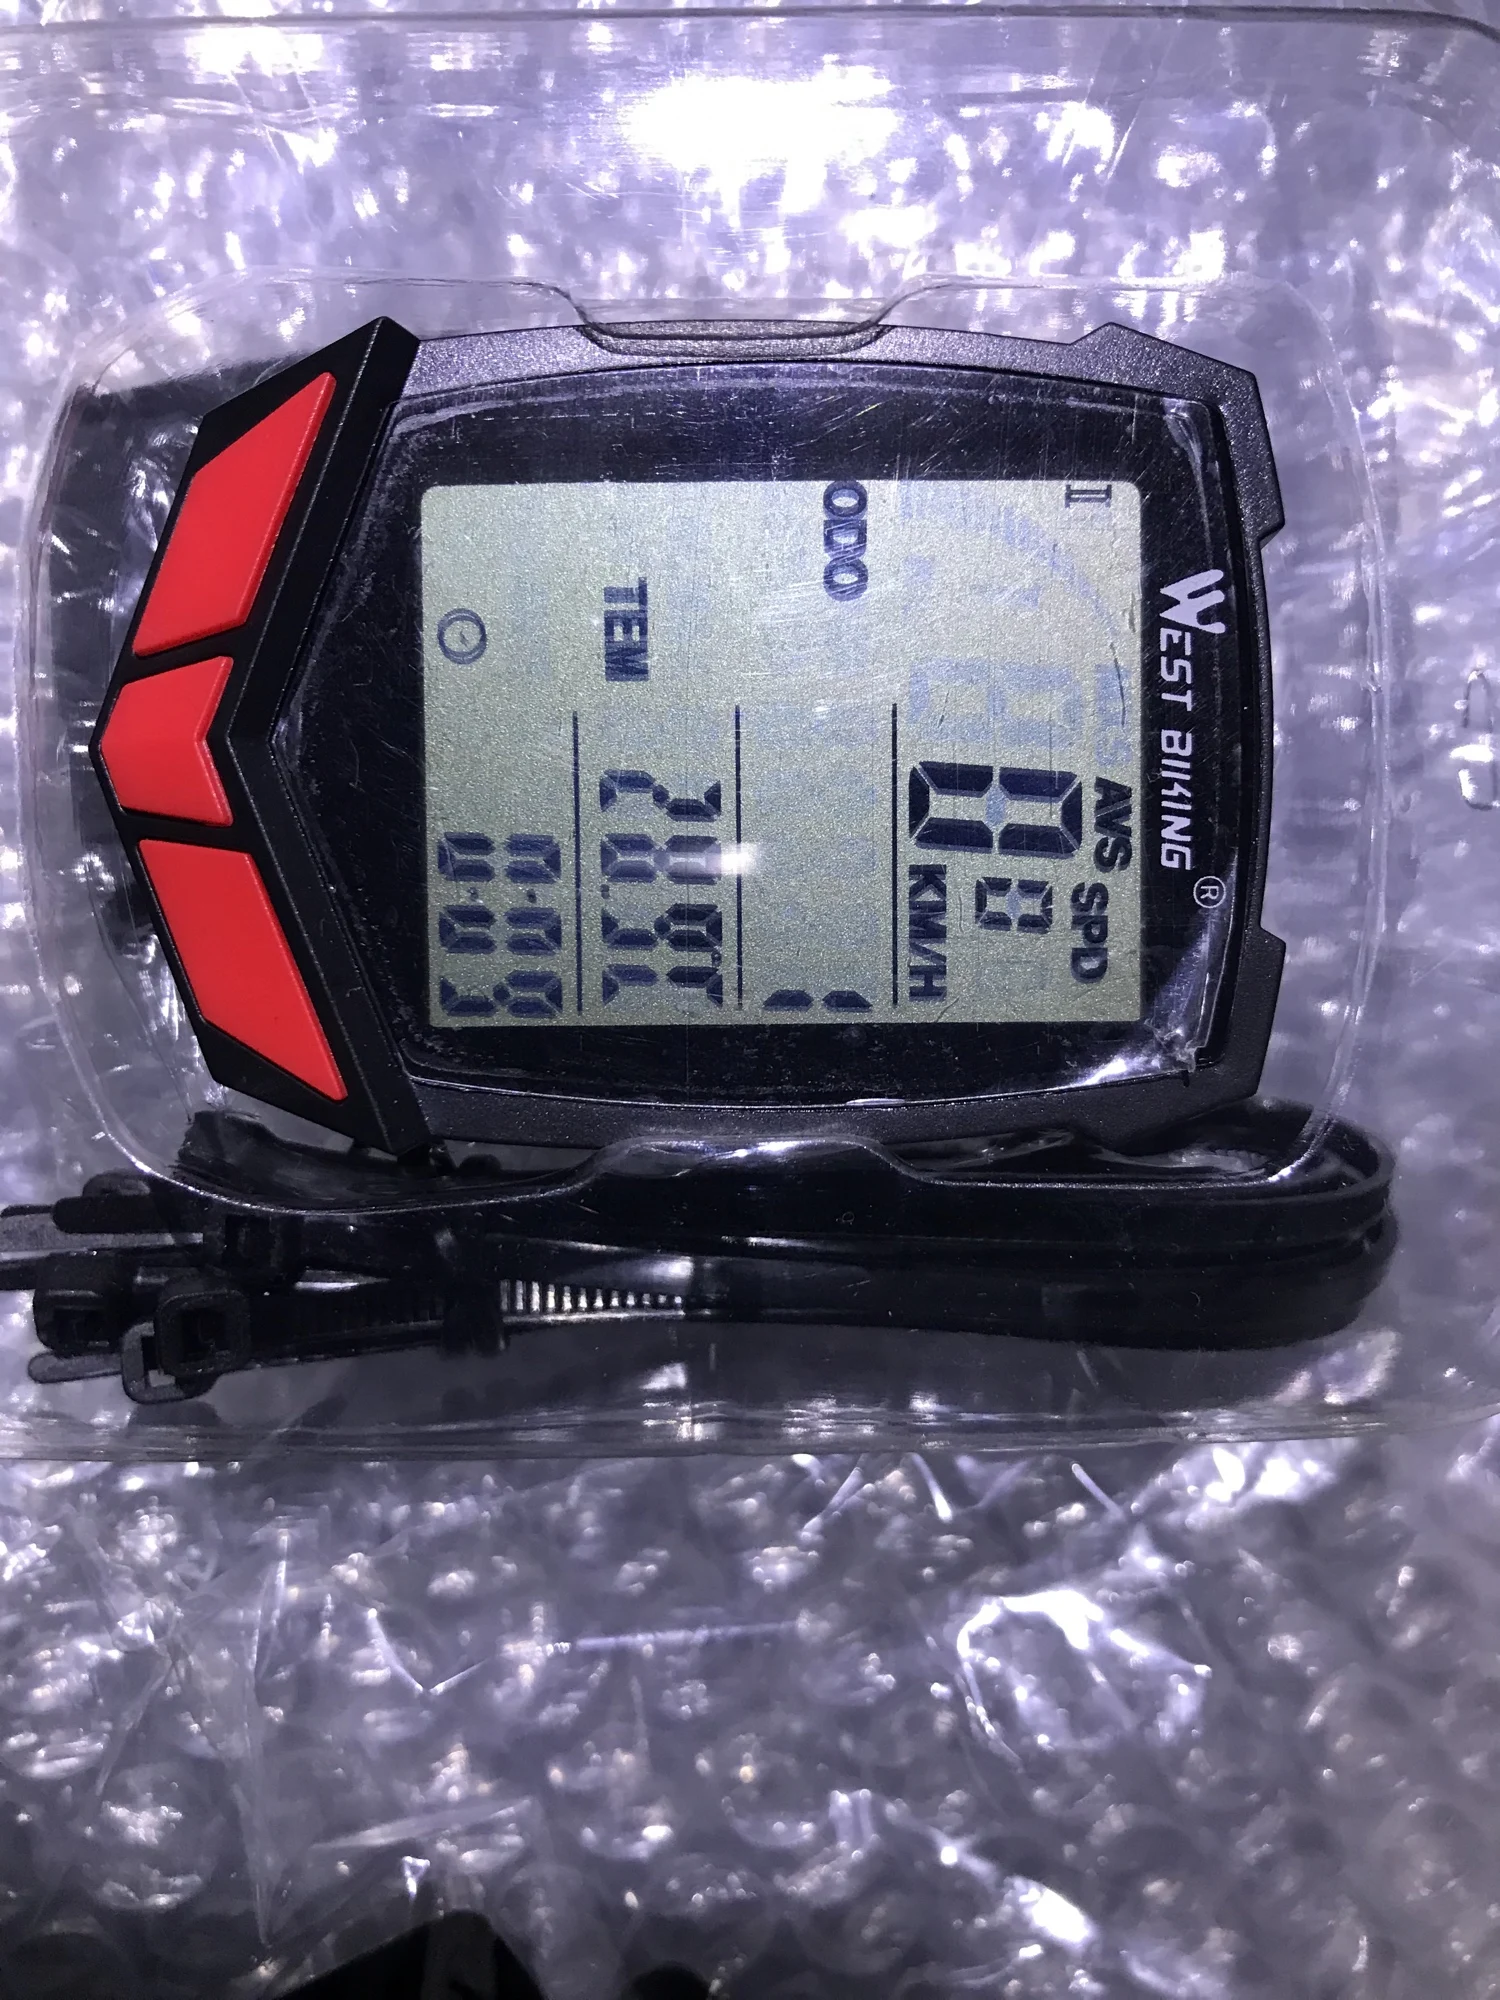
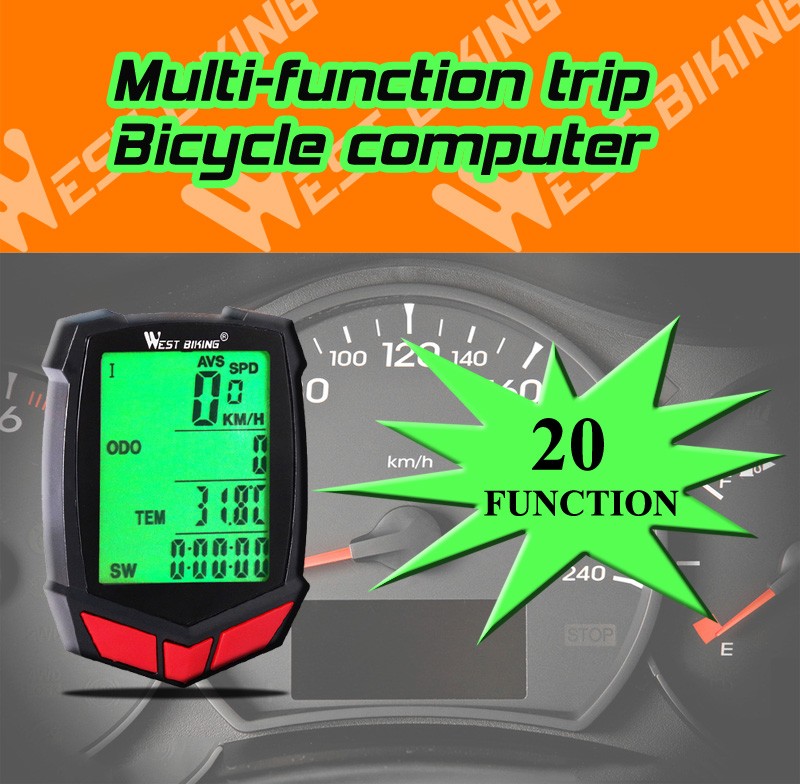
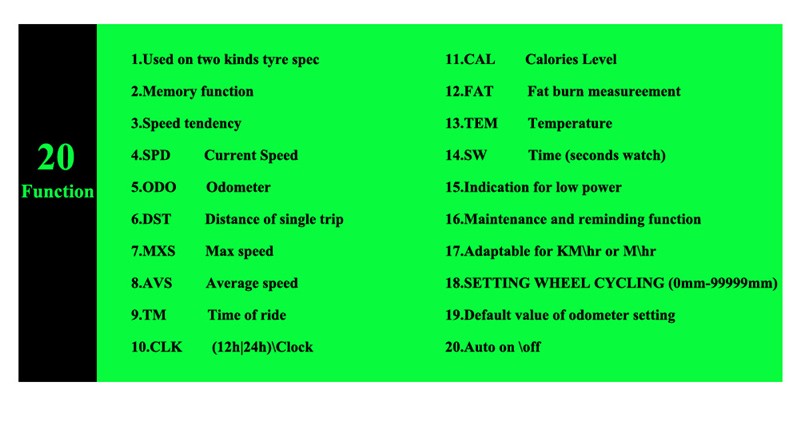
1. Used on two kinds tyre spec
2. Memory function
3. Speed tendency
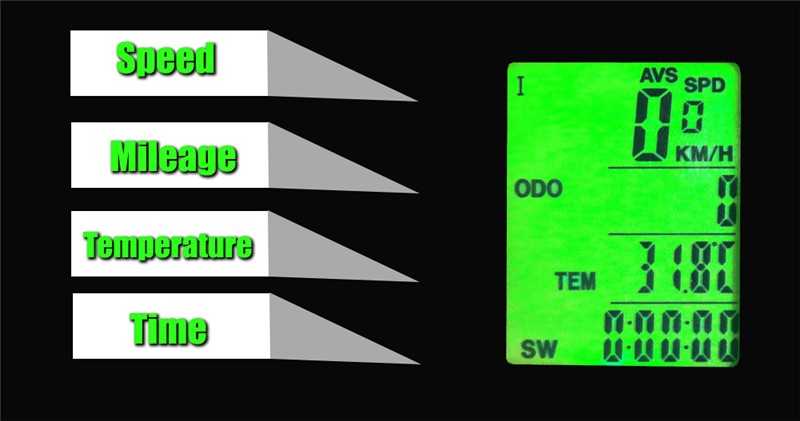
4. SPD Current Speed
5. ODO Odometer
6. DST Distance of single trip
7. MXS Max speed
8. AVS Average speed
9. TM Time of ride
10. CLK (12h|24h)\Clock
11. CAL Calories Level
12. FAT Fat burn measureement
13. TEM Temperature
14. SW Time (seconds watch)
15. Indication for low power
16. Maintenance and reminding function
17. Adaptable for KM\hr or M\hr
18. SETTING WHEEL CYCLING (0mm-99999mm)
19. Default value of odometer setting
20. Auto off
Buyer notice
The distance between the wireless launcher and themagnetic head is around 1.5mm
(The more closer the more sensitive)
The distance between the bicycle computer and the magnetic head should be within 60cm

Battery Installation
Remove the battery cover and put a piece of CR2032 battery into the case. Notice: Positive pole (+) should be set upwards. Then cover the the battery cover and screw down.
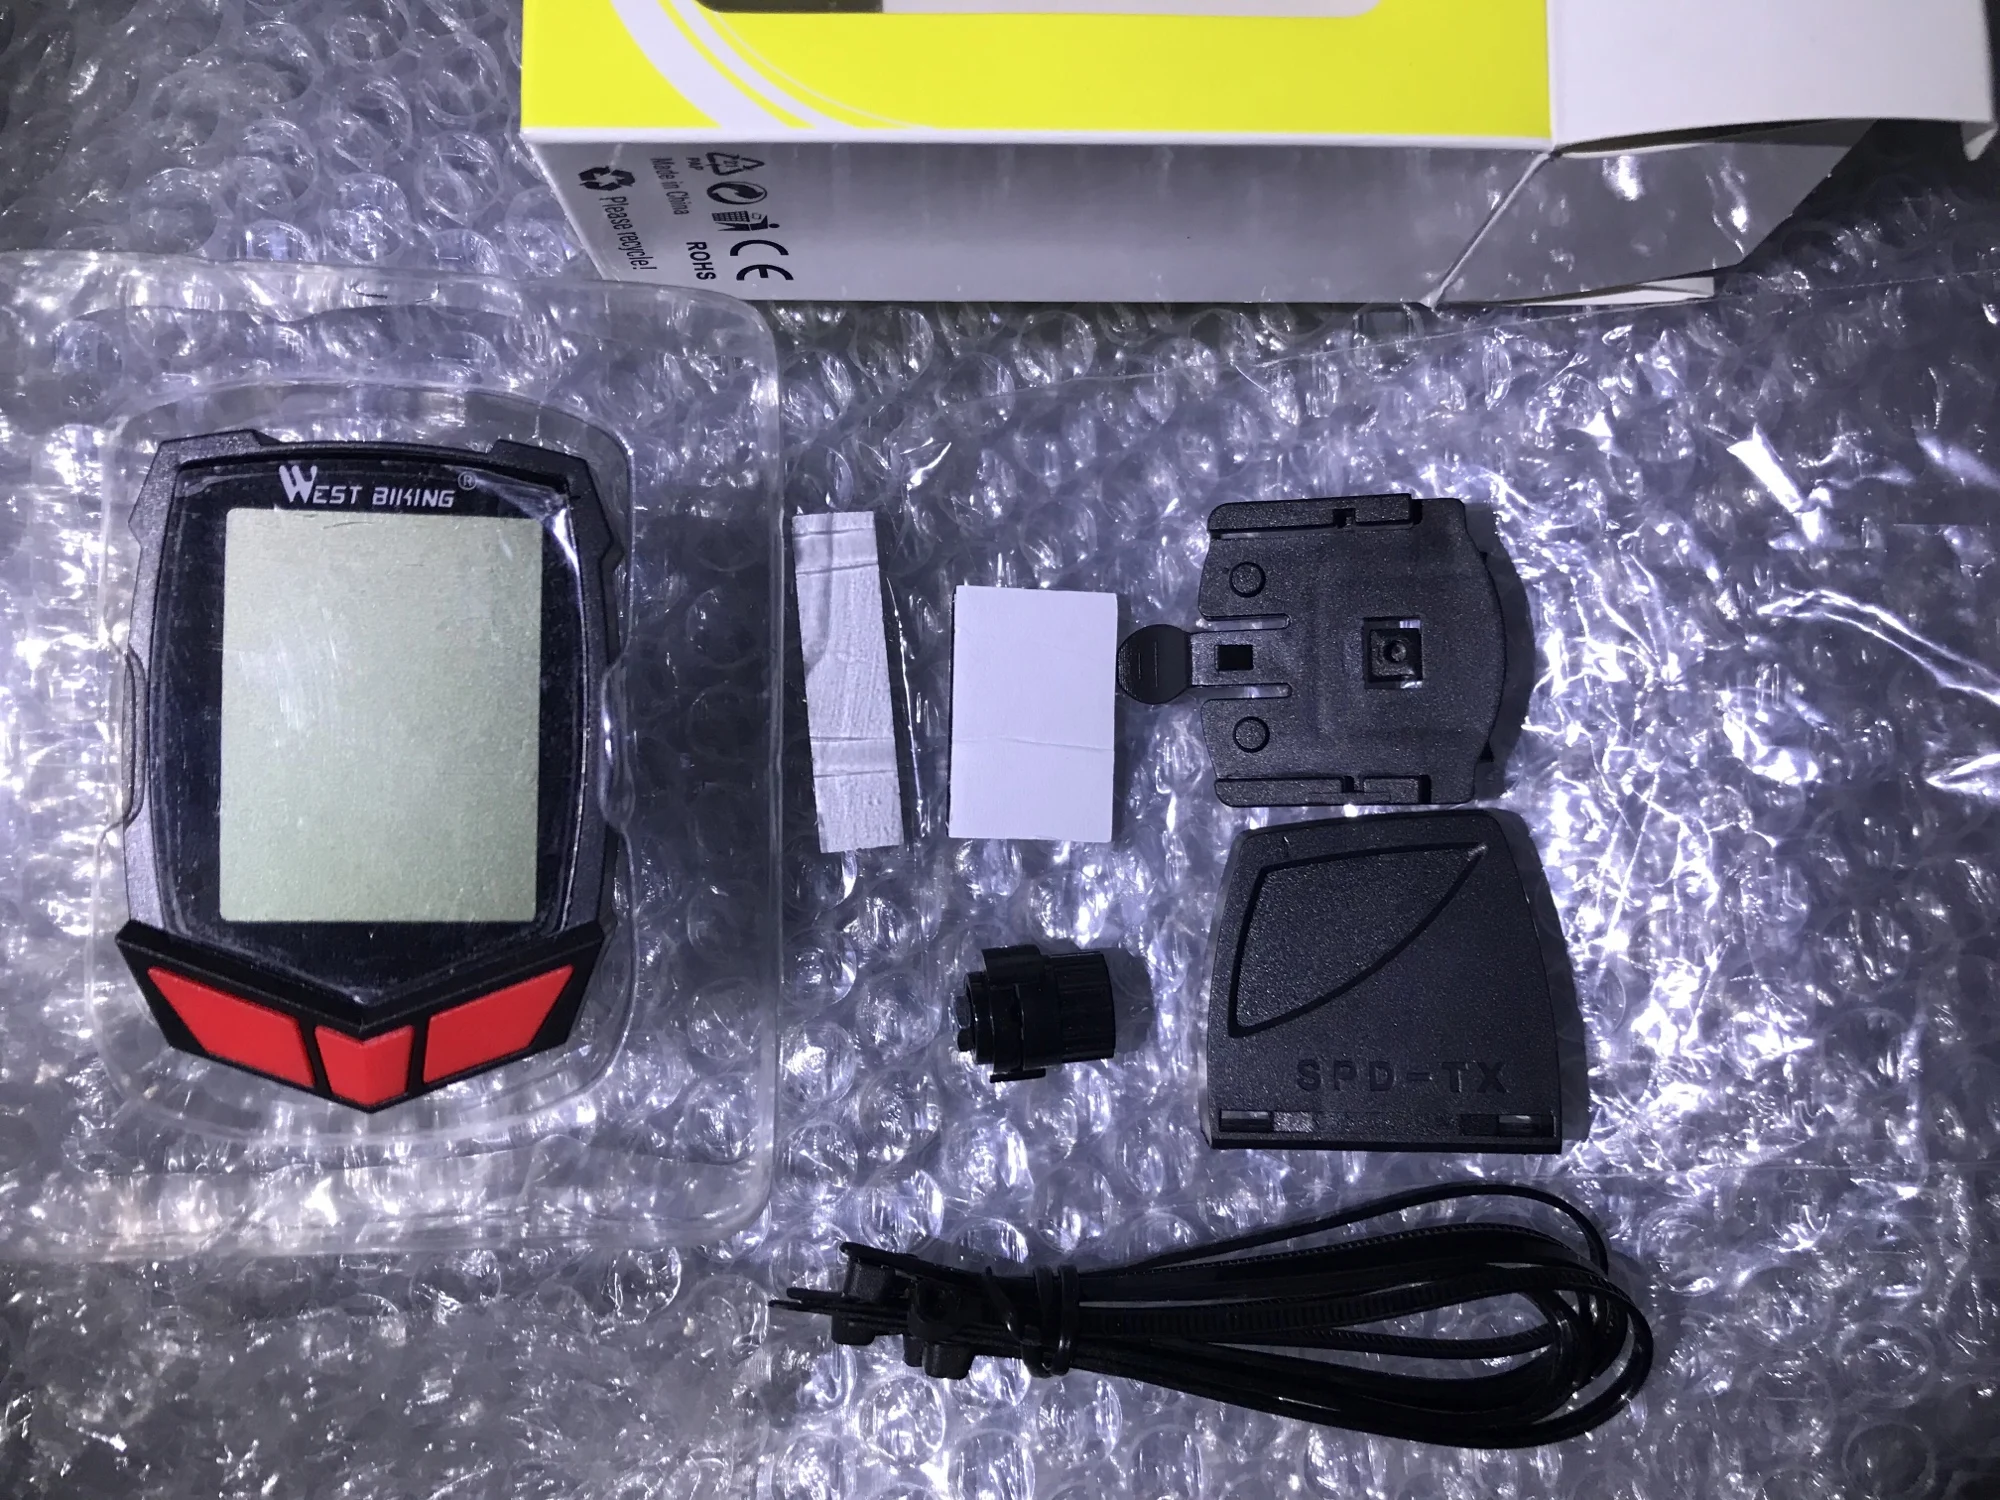
Sensor and MagnetInstallation
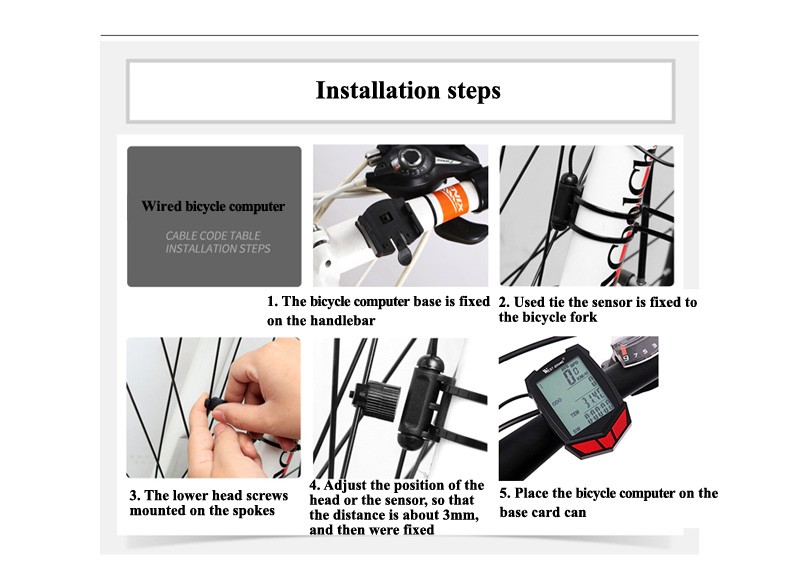
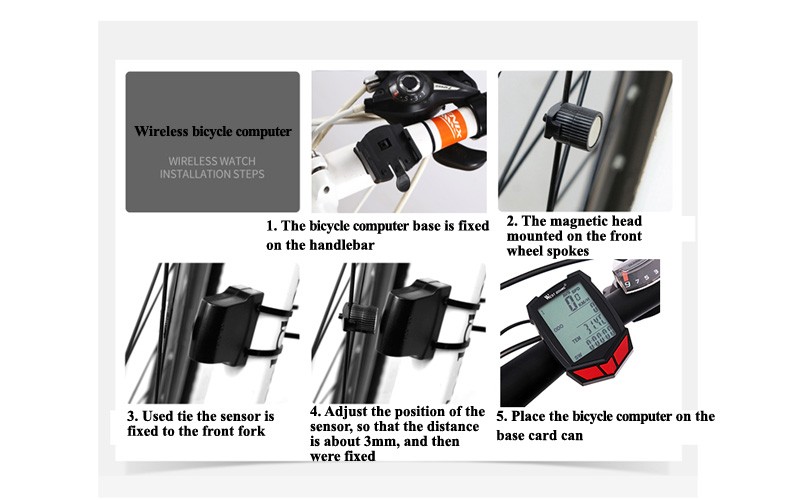
Install the sensor onto the front fork of bicycle, and the Magnet is installed onto the steel wire at the same side of wheel. Sensor can be underlaid with back-up plate and use the strap to fasten onto the front fork. It needs to be installed in 60cm distance from the computer. Adjust the comparative location of Sensor and Magnet. The plane must face to the inductor, keep the space to be 1.5mm. Magnet can not be set to the center of Sensor face-to-face, it’s better with the head or tail of Sensor.
Pedestal Installation
In the accessories pack there has a strap which can be used to fasten the Seat onto the handlebar, as well we can use the back-up plate to fasten it.
Computer Installation
Push the computer along the chute, the button stand fix the computer and hold. Removing it just needs to pull it out in reverse direction along the chute. Check the installation: Turn the front wheel to run, look to the screen to confirm if it’s got signal. If there has no signal or the reaction is not sensitive please adjust the relative location of Sensor and Magnet slightly.
KM/hr/(M/hr)Select
Press right key to choose KM /hr or M/hr mode.
Press the middle key to confirm.
Then enter into the Perimeter Setting mode.
Wheel Perimeter Setting
The screen shows 2060, select the exact cycle of your bike according to the following list. Press the right key to change the flash number, then press middle key to confirm it. Set from left number to right number. It ranges from 0mm to 9999mm. Then it comes to set the bicycle“II”, the screen shows 1860. The same setting operation as bicycle“I”.
Press the middle key to enter into the weight setting mode.
Weight setting
Press the right key to change Kilogram K to Pound L.
Press the middle key to confirm it.
Default value of weight is 065 kg, press right key to change the number, press middle key to confirm.
Press the middle key to enter the Maintenance alert mode.
Maintenance alert
Maintenance default value is: 0200, press the right key change the number, press middle key to confirm.
Then, it comes to set the Maintenance Reminder of bicycle“II”. The default value is 0800. The same setting operation as bicycle“I”.
Function:when distance value reaches to the maintenance setting value, the spanner icon will be twinkling in the screen, press the middle key for 6 seconds to cancel it.
Two Bicycle I / II using
Press the middle key for 6 seconds to change bicycle I/II.
Stopwatch function
Under the (ODO-TE-CLK) main mode, press the middle key to change to (ODO-TE-SW) mode. In this mode, press left key to start stopwatch, press again to stop it, press right key to clear the value. It ranges from 0:00:00 to 9:59:59.
ODO & Clock Setting
Under the ODO Temperature Clock main mode, press left key, you will see the ODO twinkling, press left key again -TE twinkling, press left key again -CLOCK icon twinkling.
1. When ODO twinkling, press left key again for 3 seconds to
1. set ODO value. Press the right key change the number, press the middle key to confirm it, set from right to left number.
2.
2.When TE twinkling, press left key again for 3 seconds to set
the temperature unit. Press the right key to change ℃/℉, press the middle key to confirm it.
3.When Clock icon twinkling, press left key again for 3
seconds to set the 12/24 clock. Press the right key to change 12H /24H, press the middle key to confirm it.
Then press the right key to change time number, press middle key to confirm it.
Press the right key to enter into the DST-FAT-TM mode.
Clear value
Press the right key to enter into the DST-FAT-TM mode.
Under this mode, press the middle key to check the fat and calories value.
Press the left key for 3 seconds, DST, TM, MXS, AVS, FAT and Calories value comes to ‘0’.
Backlight
During 17 :00-07 :00, screen will be lighted up for 4 seconds,
when you press any key. But if you want the screen always
lighting, press both middle and right key for 1 seconds to keep
the screen always lighted up. Press middle and right key for
1 seconds again to cancel it .
Auto off
After 300 seconds no signal inputs the odometer, the screen will turn into OFF state with only clock display. It will be restart only when you press the key again.
Current Speed
Current speed will be showed when you are on riding.
Precision at 0.1KM/h. It ranges from 0~99.9 KM/h(M/h).
Low power indicator
Once the battery voltage decreases to 2.5 V, the blank battery icon will be twinkling on screen, that reminds you to change a new battery.
Resetting
Press both middle and right key for 3 seconds to reset KM /h
M/hr, wheel Perimeter/ ODO /weight/ Maintenance alert.
Memory function
All cycling and setting data will be kept after changing battery.
Malfunction |
Reasons |
The speed of ride is 0 all the time |
Incorrect location the installation of Magnet and Sensor. |
The numbers display are incorrect |
Incorrect parameter (such as the Perimeter of the bicycle wheel ) |
Slow Reaction |
Bicycle computer works under the temperature 0 degree. |
Blank Screen |
Don’t let computer to be insolated under the sunshine,Please keep it into the shade corner. |
Dark display |
Battery is not connected well or the battery is down. Please try to connect it well or replace it. |
No drawing on screen |
Take out the battery and 10 seconds later to put it back. |


